If you are new to yoga and your body feels like a rusty hinge, you are not alone. Yoga for beginners with tight muscles is less about touching your toes and more about moving gently, breathing steadily, and letting your body open up over time. This guide walks you through 12 essential poses, a simple 20-minute routine, and the common mistakes to skip, all at home with no special equipment.
Why Tight Muscles Make Yoga Feel Hard
Most people feel stiff because of everyday habits: long hours sitting, limited variety in movement, or a stretch of inactivity. When muscles are used to a short range of motion, reaching further can feel awkward or uncomfortable at first. That is normal, and it is a starting point, not a verdict on whether yoga is for you.
The good news is that flexibility tends to improve gradually with regular, gentle practice. Many beginners notice that poses feel a little easier after a few weeks, though how fast this happens varies a lot from person to person. Your age, sleep, stress, past activity, and consistency all play a part, so compare yourself only to your own first day.
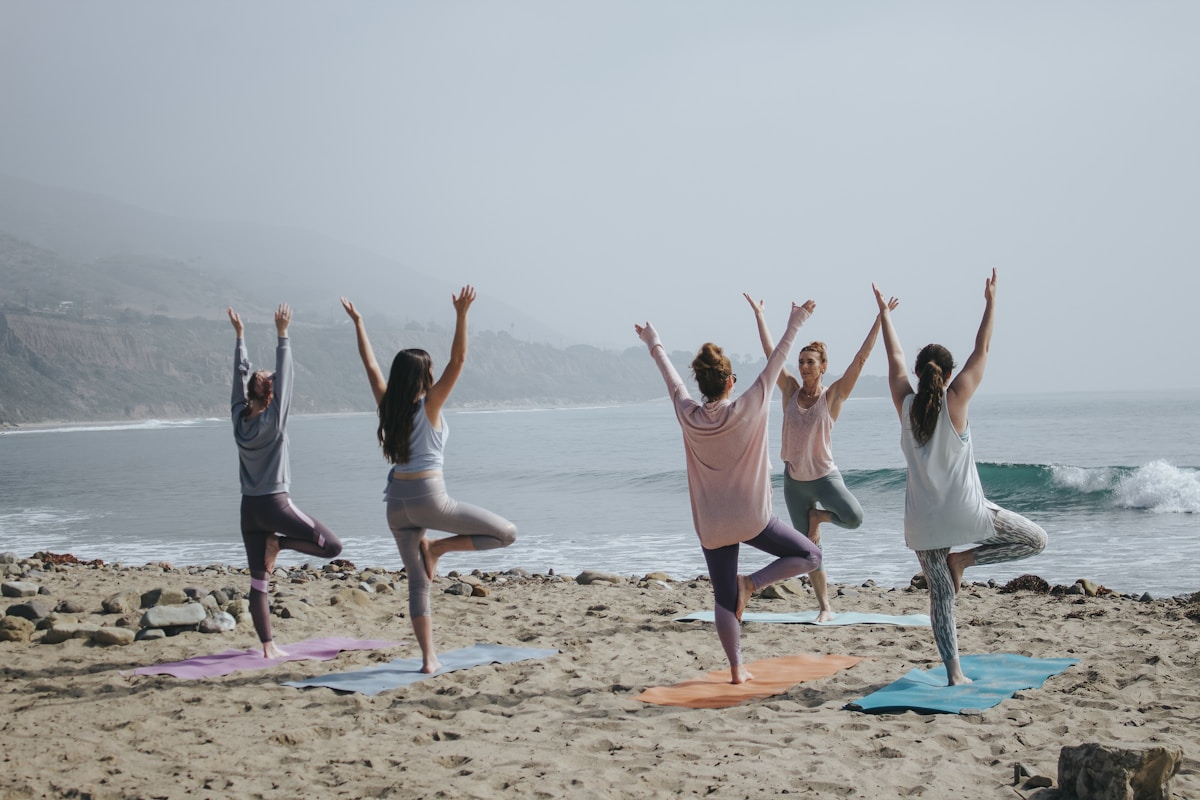
A helpful mindset: yoga is a practice, not a performance. You are not trying to look like the person in the photo. You are trying to feel a mild, comfortable stretch while breathing smoothly. If you want a gentler overall starter plan, our beginner yoga routine for flexibility at home pairs nicely with the poses below.
Before You Start: Setup and Safety
A little preparation makes your first sessions safer and more enjoyable. You do not need fancy gear, but a few simple items help when muscles are tight.
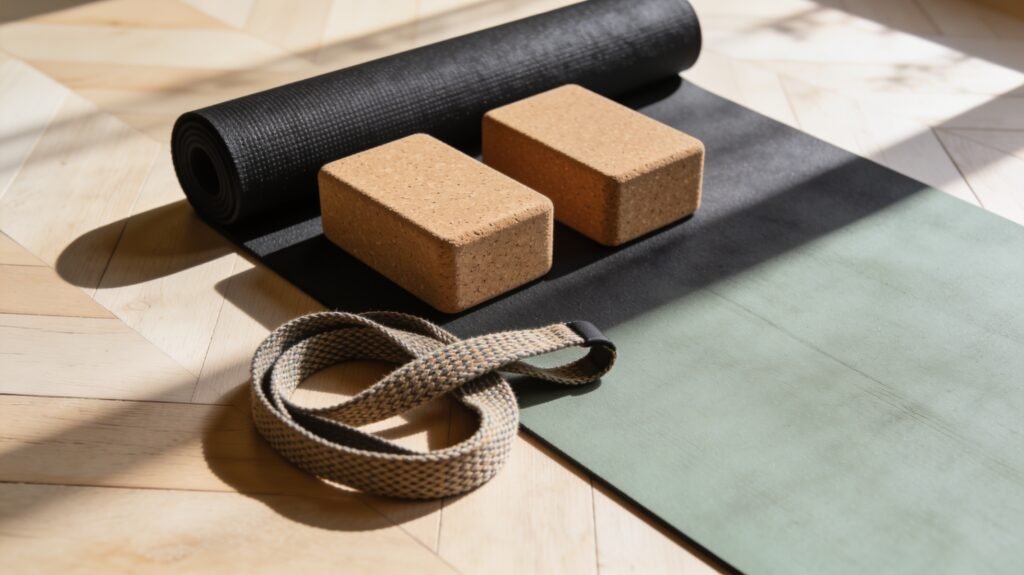
- A non-slip mat or a towel on a carpet: it keeps your hands and feet from sliding.
- A strap, belt, or long towel: it extends your reach so you can stretch without forcing your body.
- A cushion or folded blanket: sitting on it lifts your hips and eases tight hips and lower back.
- Two yoga blocks or sturdy books: they bring the floor closer to you in standing and seated poses.
Follow a few ground rules. Warm up with a few minutes of easy walking or arm circles, since cold muscles tend to resist stretching. Aim for a stretch that feels mild to moderate, never sharp, pinching, or painful. Keep breathing slowly through your nose, and back off whenever you hold your breath. Skip any pose that causes joint pain, numbness, or tingling.
If you have an injury, a medical condition, are pregnant, or take medication that affects balance or blood pressure, check with a doctor or physiotherapist before starting. The NHS gives general guidance on staying active safely in its physical activity guidelines for adults.
12 Essential Yoga Poses for Tight Muscles
Move through these poses in order, or pick four or five to start. Hold each stretch for roughly 20 to 40 seconds, or about five slow breaths, unless noted otherwise. Use props freely; there is no prize for doing it without them.
1. Cat-Cow
Start on hands and knees with wrists under shoulders and knees under hips. Inhale as you lift your chest and tailbone slightly, then exhale as you round your back and tuck your chin. Move slowly for 8 to 10 breaths.
This gentle motion warms up the spine and shoulders and is a friendly first pose when your back feels stiff. If your wrists complain, rest on your forearms or make fists with your hands.
2. Child’s Pose
From hands and knees, sit your hips back toward your heels and rest your forehead on the floor or a cushion. Let your arms stretch forward or rest alongside your body.
It stretches the back, hips, and shoulders with almost no effort. If your hips do not reach your heels, place a folded blanket between your calves and thighs, and widen your knees for comfort.
3. Downward Dog With Bent Knees
From hands and knees, tuck your toes and lift your hips up and back to form an upside-down V. Keep your knees soft and bent, and press the floor away with your hands.
Tight hamstrings and calves often pull the back into a rounded shape here. Bending the knees lets you lengthen the spine first; straighten your legs only as far as feels comfortable. Hold for 3 to 5 breaths.
4. Low Lunge
Step your right foot forward between your hands, lower your left knee to the mat, and slide it back until you feel a stretch at the front of the left hip. Rest your hands on your front thigh or on blocks.
Sitting a lot shortens the hip flexors, so this pose targets a common trouble spot. Pad the back knee with a blanket and keep your ribs stacked over your hips. Switch sides after about five breaths.
5. Seated Forward Fold With Bent Knees
Sit on a cushion with legs extended in front of you and knees slightly bent. Hinge forward from your hips with a long spine, and loop a strap around your feet if you cannot reach them.
Focus on keeping your back long instead of rounding to reach your toes. The stretch should be felt along the backs of the legs, not in the lower back. Stay for five to eight slow breaths.
6. Reclined Hamstring Stretch
Lie on your back, loop a strap around the ball of your right foot, and lift the leg toward the ceiling. Keep the other knee bent with the foot on the floor, or extend that leg if it feels fine.
Lying down takes pressure off the lower back, which makes it one of the kindest ways to stretch tight hamstrings. Keep a slight bend in the raised knee if needed, and breathe evenly for 30 seconds per side.
7. Reclined Figure-Four
Lie on your back with both knees bent. Cross your right ankle over your left thigh, then draw the left thigh toward your chest, holding behind the thigh or shin.
This pose reaches the outer hips and glutes, areas that often feel tight after long days at a desk. Flex the top foot to protect the knee and keep the shoulders relaxed on the floor.
8. Sphinx Pose
Lie on your stomach, place your forearms on the floor with elbows under shoulders, and lift your chest gently. Keep your legs relaxed and your neck long.
Sphinx offers a mild backbend that opens the chest and front of the body without demanding much strength. Stop if you feel any pinching in the lower back, and hold for roughly five breaths.
9. Butterfly Pose
Sit tall on a cushion, bring the soles of your feet together, and let your knees fall open. Hold your feet or ankles and fold forward only as far as feels comfortable.
It stretches the inner thighs and hips. If your knees float high, rest a block or rolled towel under each one so the muscles can relax instead of strain.
10. Thread the Needle
From hands and knees, slide your right arm under your left arm with the palm facing up, and lower your right shoulder and ear toward the floor. Keep your hips over your knees.
This pose releases upper-back and shoulder tension, a frequent complaint for people who work at screens. Hold for five breaths, then switch sides, and place a cushion under your head if the floor feels far away.
11. Reclined Spinal Twist
Lie on your back, hug your knees to your chest, then let both knees drop to one side while your arms stay open in a T-shape. Turn your gaze the opposite way if your neck feels comfortable.
Twists gently mobilise the spine and the muscles around it. Place a pillow under your knees if they do not reach the floor, and stay for about 30 seconds per side.
12. Legs Up the Wall
Sit sideways next to a wall, then swing your legs up as you lie back, hips close to the wall. Rest your arms by your sides and breathe slowly for 2 to 5 minutes.
It is a calming finish that eases tired legs after a day on your feet. If the backs of your legs feel too tight, move your hips a few inches away from the wall.
A Simple 20-Minute Routine to Start With
Twelve poses can feel like a lot at once, so here is an easy way to stitch them together. Pick this sequence two or three times a week and see how you feel.
- Minutes 0 to 3: Cat-Cow and Child’s Pose to settle in and warm up the spine.
- Minutes 3 to 8: Downward Dog with bent knees, then Low Lunge on each side.
- Minutes 8 to 13: Reclined Hamstring Stretch and Reclined Figure-Four on each side.
- Minutes 13 to 17: Butterfly, Thread the Needle, and Sphinx Pose.
- Minutes 17 to 20: Reclined Twist and Legs Up the Wall to wind down.
If time is short, even five minutes of Cat-Cow, Child’s Pose, and a hamstring stretch counts. For a quick wake-up on busy days, try our morning yoga stretches for energy.
How Often to Practice and What to Expect
Two to four short sessions per week is a sensible target for most beginners. Consistency matters more than length, so a gentle 15 minutes you actually do beats a 60-minute class you dread. Pick regular days and add the session to your calendar like any other appointment.
In the first couple of weeks, expect to feel mild stretching sensations and perhaps a bit of muscle tiredness the next day. Over several weeks, many people find they can reach a little further or hold poses with less effort, but results differ and nobody should be pressured to hit a timeline. If soreness lingers, take an extra rest day; our guide to recovering faster after a workout and our piece on why rest days matter explain how to pace yourself.
Yoga can also complement other training. If you are building a broader habit, see how to start working out as a complete beginner. For stiffness around the lower back specifically, these lower back stretches are a gentle companion, though persistent back pain deserves a conversation with a healthcare professional.
Common Mistakes to Avoid
- Forcing the stretch: pushing into pain tightens muscles as a protective response. Aim for comfortable tension.
- Bouncing: short, jerky movements can strain muscles. Ease in and hold steady.
- Holding your breath: slow, even breathing signals your body to relax.
- Comparing yourself to others: bodies differ in bone structure and history, so your pose will not look like anyone else’s.
- Skipping props: straps, blocks, and cushions make poses accessible, not easier in a bad way.
- Expecting instant results: flexibility builds slowly, and patience pays off.
Frequently Asked Questions
Can I do yoga if I cannot touch my toes?
Yes. Most beginners cannot touch their toes, and that is not a requirement. Use a strap, bend your knees, and sit on a cushion so you can stretch comfortably. Reaching your toes is a possible side effect of practice over time, not a prerequisite for starting.
How long should I hold each pose?
A good starting point is 20 to 40 seconds, or about five slow breaths per pose. Gentle poses like Child’s Pose and Legs Up the Wall can be held longer, sometimes a few minutes. Stop earlier if you feel pain, numbness, or tingling instead of a mild, steady stretch.
Is it okay to feel sore after yoga?
Mild muscle tiredness a day after a new session is common, especially when poses use muscles in unfamiliar ways. Sharp, pinching, or lasting joint pain is different. If discomfort is severe or does not settle, rest and speak with a healthcare professional.
Should I stretch before or after other workouts?
Light movement before exercise warms you up, while longer holds suit the end of a session or a separate day. Many people save deeper stretches for after training, when muscles are warm. Choose what feels good and fits your routine.
Final Thoughts
Yoga for beginners with tight muscles works best when it is gentle, patient, and consistent. Start with a handful of poses, use props without shame, and let your range of motion grow at its own pace. If you have health concerns or ongoing pain, check with a qualified professional before you begin. For general activity recommendations, the American College of Sports Medicine is a trustworthy place to start.