A beginner mat pilates workout at home needs only a mat, a little floor space, and about 30 minutes. You do not need a reformer, a studio membership, or any previous experience. Mat Pilates uses bodyweight, steady breathing, and slow, precise movements to train the deep core, hips, and back. This guide gives you a complete routine, form cues for every move, a four-week plan, and the mistakes that trip up newcomers. Move at your own pace, and stop if anything hurts.
What Is Mat Pilates, and Do You Really Need a Reformer?
Mat Pilates is a floor-based exercise method built around slow, controlled movements, steady breathing, and focus on the muscles of the trunk, hips, and back. The reformer is a spring-loaded machine used in studios, but it is optional. Most classic Pilates exercises were designed to be done on a mat, using your own bodyweight as resistance.
For beginners, that is good news. A mat workout teaches you body awareness first, which makes any later equipment work easier. It also fits into a small space, costs almost nothing, and can be done in a short block of time. If you are new to exercise in general, our guide on how to start working out as a complete beginner pairs well with this routine.
What You Need Before You Start
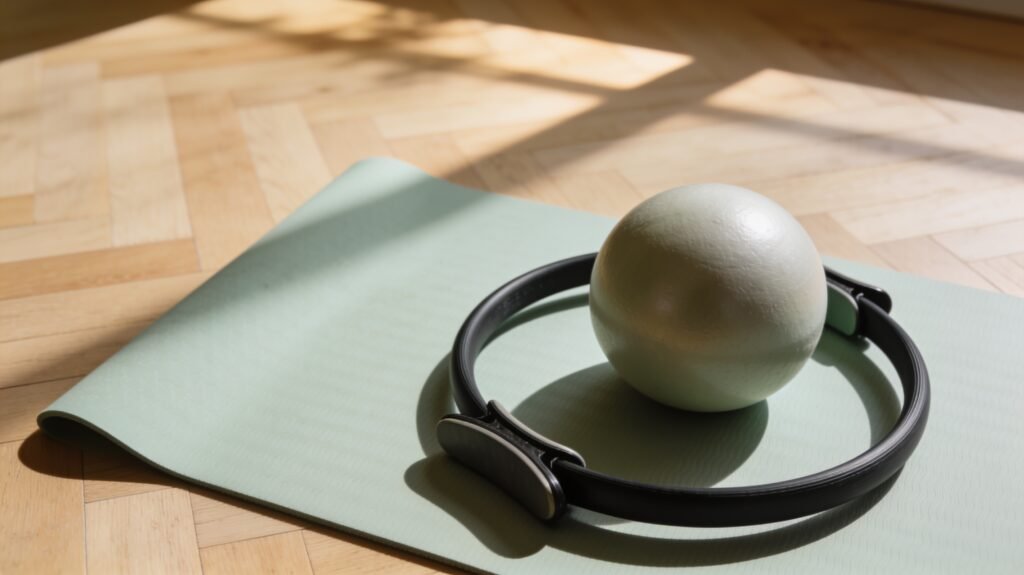
- A mat. A Pilates or yoga mat that is a little thicker than a standard yoga mat is more comfortable under the spine and hips. A folded blanket on a carpet works in a pinch.
- Comfortable clothes. Wear something fitted enough that you can see your posture, but loose enough to breathe deeply.
- Space and time. About two metres by one metre of floor space, and 20 to 30 minutes.
- Optional props. A small folded towel for under the head or hips, and a resistance band or scarf for assisted moves.
The Core Principles to Remember in Every Move
Pilates looks gentle, but the quality of each repetition matters far more than the number of repetitions. Keep these ideas in mind throughout the session.
- Breathe with the movement. Inhale through the nose to prepare, and exhale through the mouth as you do the effort part of the move. Holding your breath is the most common beginner habit to unlearn.
- Engage the deep core. Imagine gently drawing your lower belly in toward your spine, as if zipping up snug trousers. It should feel like a light brace, not a hard squeeze.
- Keep the spine neutral. Unless a move says otherwise, keep the natural small curve in your lower back rather than flattening or arching hard.
- Move slowly. If you could do a rep faster, slow it down. Control is the point.
- Stay within a comfortable range. A small, well-controlled movement beats a large, wobbly one.
Warm-Up: 4 Minutes to Prepare Your Body
Spend a few minutes waking up the spine and hips before the main routine. Lie on your back with knees bent and feet flat. Take five slow breaths, letting your ribs expand sideways. Then do eight gentle pelvic tilts, rocking your pelvis to ease the lower back flat and then back to neutral. Finish with eight slow knee drops side to side, keeping your shoulders heavy on the mat.
The 30-Minute Beginner Mat Pilates Routine
Do each exercise in order. Rest for 20 to 30 seconds between moves, or longer if you need it. Beginners can start with the lower repetition number and build up over the weeks.
1. The Hundred (Modified)
Lie on your back with knees bent and feet on the floor. Lift your head and shoulders slightly off the mat if your neck feels comfortable, otherwise keep your head down. Reach your arms long by your sides and pump them gently as you inhale for five counts and exhale for five counts. Aim for five to ten breath cycles. This move warms the abdominals and teaches breath control.
2. Assisted Roll-Up
Sit tall with knees bent, holding the backs of your thighs. Exhale and roll back slowly one vertebra at a time, then use your arms to help you roll back up. Do five to six repetitions. The goal is a smooth curve through the spine, not speed. Skip this move if it causes pain in your back.
3. Single-Leg Circles
Lie on your back with one leg extended toward the ceiling and the other leg bent or straight on the mat. Draw small circles with the lifted leg, keeping your pelvis still. Do five circles each way, then switch legs. This builds hip control and shows you whether your pelvis is rocking.
4. Single-Leg Stretch
From a tabletop position with knees bent over hips, curl your head and shoulders up if comfortable. Extend one leg while pulling the other knee toward your chest, then switch. Do eight to ten switches. Keep the extended leg higher if your lower back lifts off the floor.
5. Glute Bridge
With feet hip-width apart and knees bent, press through your feet and lift your hips one vertebra at a time until your body forms a diagonal line from shoulders to knees. Lower slowly from the top of the spine down. Do eight repetitions. This strengthens the glutes and back of the thighs, which support the lower back.
6. Side-Lying Leg Lifts
Lie on your side with your body in one line and your bottom arm supporting your head. Lift the top leg to hip height and lower it with control. Do eight to ten repetitions on each side. Keep your hips stacked so you are working the outer hip rather than swinging the leg.
7. Bird Dog
Start on hands and knees. Reach one arm forward and the opposite leg back, keeping your hips level and your ribs drawn in. Hold for two seconds and return. Do six to eight repetitions per side. Imagine balancing a glass of water on your lower back.
8. Cat-Cow and Child Pose Cool-Down
Finish on hands and knees with six slow rounds of cat-cow, arching and rounding the spine with your breath. Then sit back into child pose and rest for five slow breaths. If back stiffness is a regular issue, you might also try these gentle stretches for lower back tension afterward.
A Simple 4-Week Plan for Beginners
Consistency matters more than intensity when you are starting out. Use this plan as a flexible guide rather than a rule, and adjust it to how your body feels.
- Week 1: Two sessions. Do the warm-up plus exercises 1, 3, 5, 7, and the cool-down. Focus on breathing and form.
- Week 2: Two or three sessions. Add exercises 2 and 4 and try to complete the full list, resting as needed.
- Week 3: Three sessions. Do the whole routine and add one extra set of the bridge and bird dog.
- Week 4: Three sessions. Move through the routine with smoother transitions and slightly slower tempo to make each move more demanding.
Leave at least one rest day between harder sessions. If you want to understand why that gap helps, read why rest days are essential for muscle building and fat loss. Many people find that attaching the routine to an existing habit helps it stick, and this guide to building a workout habit that sticks shows how.
Common Beginner Mistakes to Avoid
- Holding your breath. It raises tension in the neck and shoulders. Keep exhaling through the hard part of each move.
- Pulling on the neck. If your neck tires during curl-ups, rest your head down or support it with your hands.
- Rushing. Fast reps let momentum do the work, which defeats the purpose.
- Gripping with the hip flexors and back. Your lower back should not arch off the mat in leg-lowering exercises. Reduce the range until it stays steady.
- Doing too much too soon. Mild muscle fatigue is normal. Sharp or lasting pain is not, so ease off and get advice from a professional.
Modifications and When to Check With a Professional
Pilates can be adapted for many bodies, but it is not right for every situation without guidance. If you are pregnant, recovering from surgery, living with a back or neck condition, or have osteoporosis or any other medical concern, talk to a doctor or physical therapist before starting. They can tell you which movements to avoid or change. The Mayo Clinic overview of Pilates is a useful starting point on general benefits and cautions.
If a move feels too hard, shorten the range, keep your head down, or do fewer repetitions. If you want to add more variety to your week, a beginner yoga routine for flexibility or a beginner core workout can complement Pilates nicely.
Frequently Asked Questions
How often should a beginner do mat Pilates?
Two to three sessions per week is a sensible starting point for most beginners. That gives your body time to adapt while you learn the movements. You can gradually add a fourth short session once the routine feels comfortable. Listen to your body and allow rest days between sessions, especially in the first few weeks.
Can I do Pilates at home without a reformer?
Yes. Mat Pilates uses bodyweight and requires no machine. Many of the original exercises were designed for the floor. A mat, some space, and a clear routine are enough to learn the basics, build body awareness, and practise good movement before deciding whether to try studio equipment.
How long until I notice a difference?
It varies from person to person. Some people feel better posture awareness and improved control within a few weeks of regular practice, while physical changes can take longer. Instead of chasing quick results, focus on practising consistently and noticing how your movement and energy feel from week to week.
Is mat Pilates good for weight loss?
Pilates is a low-impact way to stay active and build strength, but on its own it burns fewer calories than more vigorous exercise. Weight changes depend on overall activity, food choices, and sleep. Many people combine Pilates with walking or strength training and treat it as one part of a balanced routine.
Final Thoughts
A beginner mat Pilates workout at home is a low-cost, low-impact way to build core awareness, control, and a steady exercise habit. Start with the shorter version, focus on quality, and add volume only when the basics feel smooth. Pair it with the general activity guidance from the NHS physical activity guidelines and the resources at the American College of Sports Medicine for a well-rounded week.
This article is general information and not medical advice. If you have a health condition, an injury, or persistent pain, speak with a qualified healthcare professional before starting a new exercise programme.