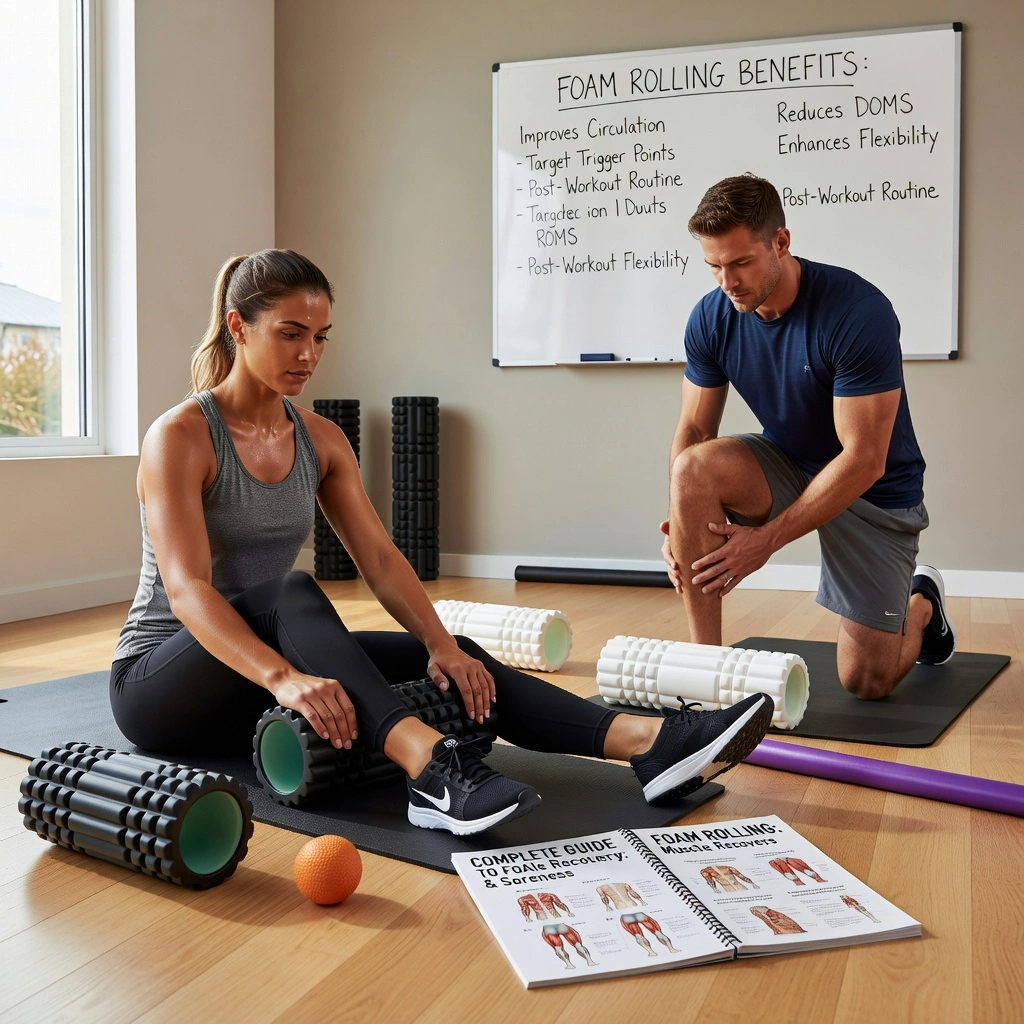
Foam rolling has moved from elite sports physiotherapy rooms into mainstream fitness — and for good reason. When performed correctly, self-myofascial release using a foam roller genuinely reduces muscle soreness, improves range of motion, and accelerates recovery between training sessions. This complete guide to foam rolling explains exactly how it works, which muscles to target, and the specific techniques that produce real results.
How Foam Rolling Actually Works
Foam rolling applies sustained pressure to fascia — the connective tissue surrounding every muscle. Intense exercise creates myofascial adhesions: areas where fascia becomes bound to underlying muscle, restricting movement and causing the sensitivity we call DOMS. The pressure from foam rolling triggers the Golgi tendon organ reflex, causing the muscle to relax and release. It also increases localised blood flow and tissue temperature, accelerating removal of metabolic waste products and delivery of nutrients needed for repair.
❓ Quick Knowledge Check
How long should you hold pressure on a tender spot when foam rolling?
Foam Rolling Techniques for Each Major Muscle Group
Quadriceps (Front of Thighs)
Lie face down with the roller under both thighs, just above the knee. Support your weight on your forearms. Slowly roll from just above the knee to just below the hip crease. When you find a tender spot, pause and hold for 30–45 seconds. Keep your core engaged throughout. Avoid rolling the knee joint itself. Time: 60–90 seconds per leg.
IT Band (Outer Thigh)
Lie on your side with the roller under your outer thigh. Support your weight on your forearm. Roll slowly from just above the knee to just below the hip. The IT band is often extremely tender — do not force through sharp pain. Use your supporting leg to modulate pressure. Time: 60–90 seconds per side.
Glutes and Piriformis
Sit on the roller with one ankle crossed over the opposite knee (figure-4 position). Lean slightly toward the side you’re rolling. Slowly roll through the gluteal tissue, pausing on any tender areas. This is one of the most beneficial areas to address for anyone with lower back discomfort or tight hips. Time: 60 seconds per side.
Upper Back (Thoracic Spine)
Place the roller horizontally across your mid-back at shoulder blade level. Support your head with your hands behind your neck. Gently extend over the roller to open the thoracic spine. Move the roller upward one position at a time. Critical: never roll the lumbar (lower) spine directly. Time: 60–90 seconds total.
Calves
Sit on the floor with the roller under both calves. Lift your hips and roll slowly from just above the ankle to just below the knee. Cross one leg over the other to increase pressure. Rotate your foot inward and outward to reach different portions of the calf. Time: 60 seconds per leg.
Lats (Upper Back / Sides)
Lie on your side with the roller just below your armpit, arm extended overhead. Roll slowly from the armpit to the bottom of the ribcage. Rotate slightly to reach the muscles behind the shoulder. Particularly beneficial for anyone who does pulling exercises or has desk-related shoulder tension. Time: 45–60 seconds per side.
⚙ Complete 15-Minute Recovery Routine
Post-workout or rest day — perform in this order:
- Calves — 60 sec each
- Hamstrings — 60 sec each
- Quadriceps — 90 sec each
- IT Band — 60 sec each
- Glutes/Piriformis — 60 sec each
- Upper back — 90 sec
- Lats — 45 sec each
🔔 Best timing: immediately post-workout and on the morning after intense training days.
When to Foam Roll: Before or After Exercise?
Before exercise: Use foam rolling to increase tissue mobility and warm up restricted areas. Keep rolling brief (30–45 seconds per area) and focus on tight areas. Follow with dynamic stretching.
After exercise: The most beneficial time for recovery. Increased blood flow accelerates removal of metabolic waste and begins the repair process. Spend 10–15 minutes addressing muscles worked during the session.
On rest days: A 10-minute full-body roll on rest days maintains tissue quality without adding training stress and significantly improves mobility over time.
What to Avoid When Foam Rolling
- Never roll directly on joints — knees, ankles, hips, and spine joints must be avoided
- Do not roll bruised, inflamed, or acutely injured tissue — this worsens damage
- Avoid rolling the lower lumbar spine — use a ball for targeted glute work instead
- Do not roll through sharp or shooting pain — stop and consult a physiotherapist
- Do not rush — rolling too quickly provides no tissue benefit; slow, sustained pressure is what works
▶ WATCH: Foam Rolling Technique Guide
🔍 Watch on YouTube